


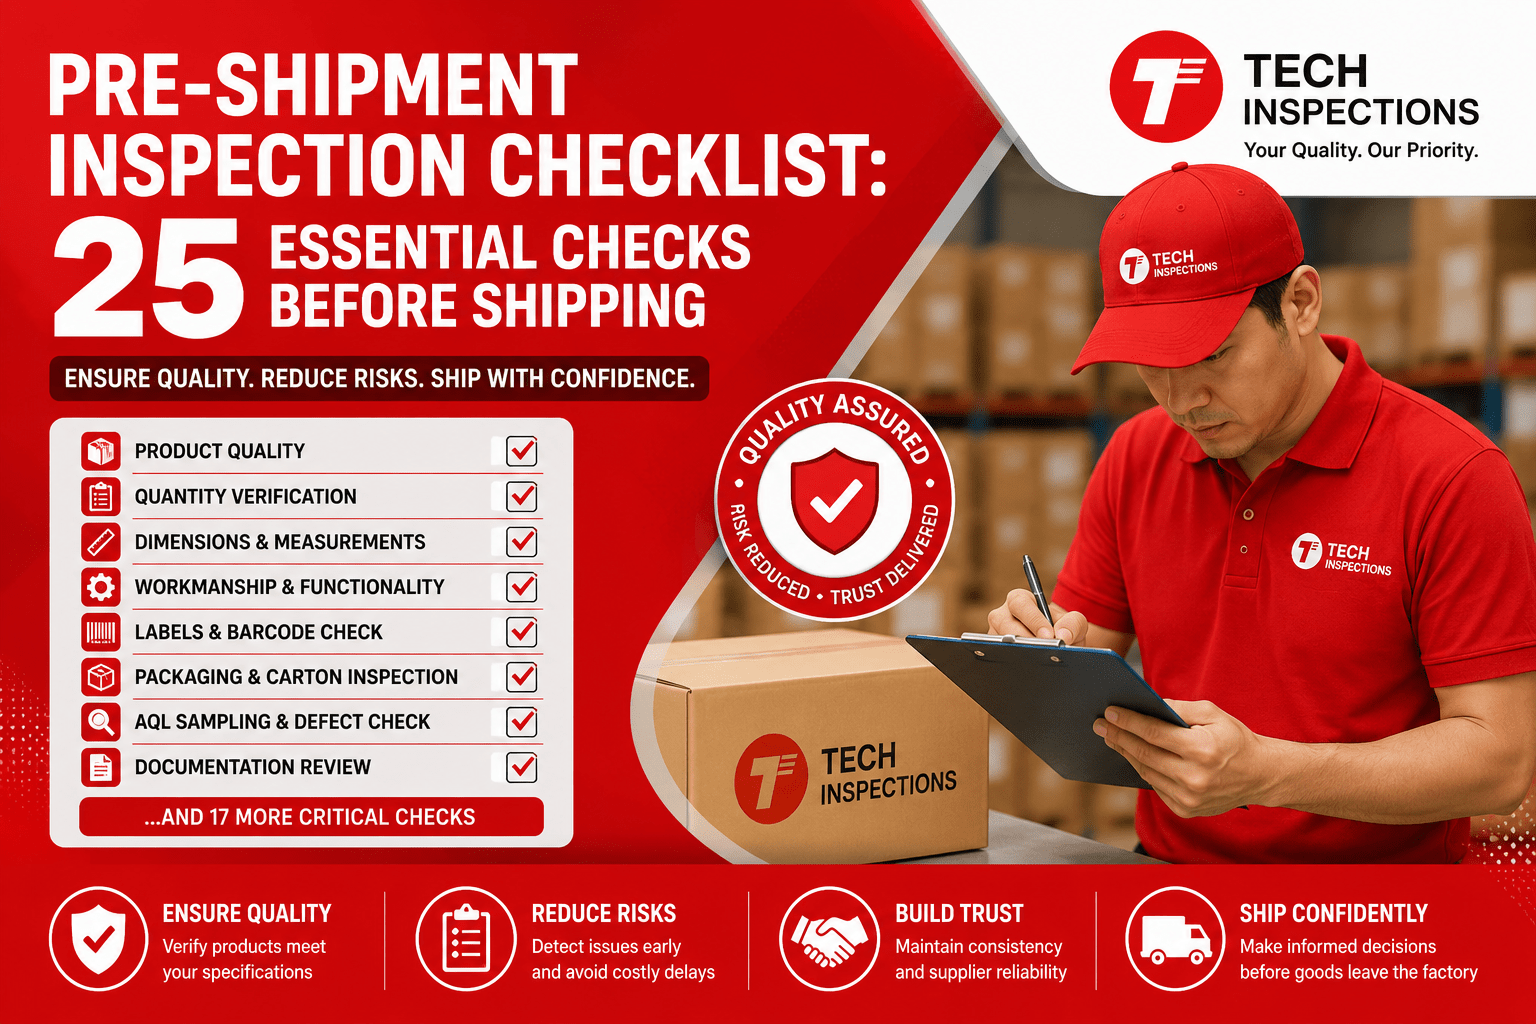
Pre-Shipment Inspection Checklist: 25 Essential Checks Before Shipping
A pre-shipment inspection checklist helps importers confirm that finished products match the purchase order, approved sample and agreed quality requirements before goods leave the factory. A proper inspection looks beyond obvious defects. Quantity, dimensions, workmanship, functionality, labels, packaging, cartons and documentation can all affect whether an order is ready to ship.
Once goods leave the factory, correcting a production problem becomes much more difficult and expensive. A final inspection gives buyers one last opportunity to identify problems while the supplier can still take corrective action.
This guide provides a practical pre-shipment inspection checklist for importers, sourcing teams, brands, manufacturers and purchasing professionals.
Quick answer: A good pre-shipment inspection should verify product identity, quantity, workmanship, dimensions, materials, appearance, functionality, labeling, packaging, cartons, sampling requirements and other specifications agreed between the buyer and supplier.
What Is a Pre-Shipment Inspection?
A pre-shipment inspection (PSI) is a quality inspection performed on finished or substantially finished goods before shipment.
The purpose is straightforward: compare the actual production against the buyer’s agreed requirements before the goods leave the supplier’s control.
Depending on the product, a PSI may include:
- Product specifications
- Quantity
- Workmanship
- Dimensions
- Materials and components
- Color and appearance
- Functionality
- Labels
- Barcodes
- Packaging
- Carton markings
- Defect classification
- Sampling
- Required documentation
Tech Inspections describes PSI as a final-stage inspection performed when most or all of the order is manufactured and packed, with samples selected according to a statistical sampling procedure. Learn more about our Pre-Shipment Inspection Services.
A PSI is not necessarily a 100% inspection of every unit. The inspection method, sample size and acceptance criteria should be agreed before the inspection takes place.

Why Do Importers Need a Pre-Shipment Inspection?
A supplier’s internal quality-control report can provide useful information, but an independent inspection gives the buyer another layer of verification before shipment.
A pre-shipment inspection can help identify:
- Incorrect quantities
- Wrong colors or sizes
- Visible manufacturing defects
- Poor workmanship
- Incorrect dimensions
- Missing components
- Functional problems
- Incorrect labels
- Packaging issues
- Carton discrepancies
- Unauthorized changes
- Excessive defects within the inspected sample
The timing matters.
Finding a defect at the factory gives the supplier an opportunity to rework or replace the affected goods. Finding the same problem after the container has arrived at the destination can mean additional freight, sorting, returns, delays and customer complaints.
For buyers managing international suppliers, PSI works best as part of a broader quality control process.
Pre-Shipment Inspection Checklist: 25 Essential Checks
Use the following checklist as a starting point. The exact inspection points should always be adapted to the product specification, purchase order, destination market and buyer requirements.
1. Verify the Purchase Order
Start with the latest purchase order.
The inspector should verify:
- Purchase order number
- Product name
- SKU or style number
- Ordered quantity
- Size and color breakdown
- Delivery requirements
- Packaging instructions
- Special quality requirements
The inspection should never rely on an outdated specification.
A supplier may have several versions of the same product in production, so the PO provides an important reference point.
2. Compare Production With the Approved Sample
If an approved sample or golden sample exists, use it as a physical reference.
Compare the production goods for:
- Overall appearance
- Construction
- Materials
- Color
- Components
- Logo placement
- Finishing
- Packaging
- Product dimensions
For apparel, for example, the approved sample can be compared with production garments for stitching, measurements, trims, labels, fabric appearance and finishing.
3. Verify Product Identity
Confirm that the inspector is checking the correct product.
Check:
- SKU
- Model number
- Style number
- Product version
- Color
- Size
- Batch or lot information
- Product markings
This sounds basic, but it can prevent a serious inspection error.
A supplier may have several similar products in the same factory. If the wrong SKU is inspected, the report may look perfectly acceptable while the actual shipment contains a different product.
4. Check Quantity
Verify the quantity against the purchase order and packing information.
Check:
- Total units
- Carton count
- Units per carton
- Quantity by SKU
- Quantity by color
- Quantity by size
Quantity discrepancies should be recorded rather than treated as a minor administrative issue.
A buyer may receive acceptable-quality products and still have a serious commercial problem if the shipment contains the wrong assortment or quantity.
5. Inspect Workmanship
Workmanship is one of the core areas of a final inspection.
Depending on the product, look for:
- Scratches
- Stains
- Holes
- Cracks
- Loose threads
- Poor stitching
- Uneven finishing
- Broken components
- Poor assembly
- Surface damage
- Missing parts
- Manufacturing marks
For garments and textiles, workmanship may include stitching, seams, trims, attachments, embroidery, printing, buttons, zippers and overall finishing.
Tech Inspections also provides specialized Textile and Garment Inspection services for buyers and manufacturers requiring product-specific quality checks.
6. Measure Product Dimensions
Measurements should be compared with the buyer’s specification and permitted tolerances.
Depending on the product, measurements may include:
- Length
- Width
- Height
- Thickness
- Diameter
- Weight
- Capacity
- Sleeve length
- Chest measurement
- Waist measurement
For apparel, define exactly where each measurement is taken.
Instead of writing:
Check garment size.
A useful inspection instruction would specify:
Measure chest width, body length and sleeve length according to the approved measurement chart and record the actual results.
This creates evidence that the buyer can review.
7. Verify Materials and Components
Check whether the materials and components used in production match the approved specification.
Examples include:
- Fabric composition
- GSM
- Leather
- Plastic
- Metal
- Zippers
- Buttons
- Buckles
- Thread
- Foam
- Hardware
- Packaging materials
An unapproved material substitution should be documented as a non-conformity.
If material performance or chemical safety is important, a visual PSI should not automatically be treated as a substitute for laboratory testing.
8. Check Color and Overall Appearance
Color variation can become noticeable when products are manufactured in large quantities.
Depending on the product, compare against:
- Approved sample
- Color standard
- Pantone reference
- Approved artwork
- Fabric standard
For textiles and garments, inspect for:
- Shade variation
- Color contamination
- Uneven dyeing
- Printing problems
- Finishing differences
- Surface irregularities
Color requirements should be defined before production rather than left entirely to visual judgment during the final inspection.
9. Test Product Functionality
A product can look perfect and still fail when used.
Where applicable, test:
- Zippers
- Buttons
- Switches
- Hinges
- Controls
- Chargers
- Moving parts
- Opening and closing mechanisms
- Assembly
- Basic product functions
The test method should follow the agreed product specification.
For example, a bag inspection might include zipper operation and strap attachment, while a motorcycle accessory inspection may require functionality and material-durability checks.
Tech Inspections’ Motorbike Accessories Inspection service includes checks such as packaging, functionality, material durability and safety-related features.
10. Check Logos, Printing and Artwork
Compare production against the approved artwork.
Check:
- Logo size
- Logo position
- Spelling
- Font
- Printing quality
- Embroidery
- Artwork version
- Orientation
- Design colors
A small artwork mistake can create a large commercial problem when thousands of units have already been manufactured.
11. Verify Product Labels
Check that required labels are present, correct and properly attached.
Depending on the product, this may include:
- Brand label
- Size label
- Care label
- Country-of-origin marking
- Warning label
- Material composition
- Barcode
- SKU
- Product identification
For textile products, labeling requirements can be particularly important because incorrect fiber-content or care information may create compliance and retail problems.
12. Check Barcodes and SKU Labels
Where barcodes are used, verify that the information corresponds with the correct product.
Check:
- Barcode number
- SKU
- Product identification
- Carton barcode
- Label placement
- Print quality
- Scanability where appropriate
For marketplace sellers, retail suppliers and distributors, incorrect barcodes can create receiving and inventory problems even when product quality itself is acceptable.
13. Inspect Individual Product Packaging
Check the packaging around the individual product.
Look for:
- Correct packaging material
- Protective materials
- Polybags
- Boxes
- Inserts
- Instructions
- Accessories
- Product orientation
- Packaging damage
Packaging requirements should be compared against the approved packaging specification.
14. Inspect Master Cartons
The outer carton deserves its own inspection.
Check:
- Carton dimensions
- Carton strength
- Gross weight
- Net weight
- Number of units
- Carton markings
- Sealing
- Labels
- Barcodes
- Palletization where applicable
Packaging problems can result in product damage during transportation even when the goods passed the product-quality inspection.
15. Verify Shipping Marks
Compare carton markings with the buyer’s shipping instructions.
Depending on the shipment, check:
- Purchase order number
- SKU
- Carton number
- Destination
- Gross weight
- Net weight
- Country of origin
- Handling symbols
- Required shipping labels
Incorrect shipping marks can cause receiving and logistics problems at the destination.
16. Confirm the AQL Sampling Plan
AQL stands for Acceptance Quality Limit and is used within acceptance-sampling systems.
The sampling plan should be established before the inspection rather than decided after defects are found.
Relevant standards include ISO 2859-1:2026, which defines acceptance-sampling schemes for lot-by-lot inspection by attributes. The American Society for Quality also describes ANSI/ASQ Z1.4 as an acceptance-sampling system for inspection by attributes.
Before inspection, define:
- Lot size
- Inspection level
- Sample size
- Major-defect acceptance criteria
- Minor-defect acceptance criteria
- Critical-defect requirements
- Acceptance/rejection numbers
- Any special buyer requirements
The correct sampling approach depends on the product, contract, risk level and applicable standard.
Important: AQL should not be interpreted as a guarantee that an accepted shipment contains a particular percentage of defect-free products. It is an acceptance-sampling methodology.
17. Classify Defects by Severity
Defects should be classified consistently.
Critical defects
Conditions that create a serious safety, regulatory or unacceptable-use risk.
Major defects
Problems that can significantly affect functionality, usability, appearance or saleability.
Minor defects
Smaller deviations that generally have less effect on function or usability.
The buyer should define defect criteria before inspection whenever possible.
Clear definitions make inspection results easier to understand and reduce disagreements between buyers, suppliers and inspectors.
18. Capture Photographic Evidence
Photographs are an important part of a useful inspection report.
For significant findings, capture:
- Full product view
- Close-up of the defect
- Product identification
- Measurement evidence where relevant
- Packaging context
- Multiple examples when a defect is repeated
A close-up photograph without context may not tell the buyer how widespread or serious the problem is.
Good evidence should help someone who was not present at the factory understand what happened.
19. Record Actual Measurements
Avoid vague statements such as:
Size passed.
Record the actual result.
For example:
Required chest measurement: 54 cm ±1 cm.
Measured sample: 54.2 cm.
Result: Within specified tolerance.
This approach creates a much more useful inspection record.
Measurement data can also help buyers identify production trends and recurring supplier problems.
20. Verify the Packing List
Compare physical goods against the packing list.
Check:
- Carton count
- Units per carton
- Total units
- SKU breakdown
- Gross weight
- Net weight
- Carton numbering
Any discrepancy should be documented before shipment authorization.
21. Review Required Documentation
Depending on the product and destination, documentation may include:
- Purchase order
- Packing list
- Commercial invoice
- Product specification
- Test reports
- Certificates
- Compliance documentation
- Inspection report
- Certificate of conformity where applicable
A visual inspection cannot replace laboratory testing or certification when those are required.
For products requiring testing, Tech Inspections also provides Consumer Product Lab Testing through its testing services and laboratory network.
22. Add Product-Specific Inspection Requirements
A generic checklist is useful, but every product has different failure risks.
Garment inspection
Consider checking:
- Fabric
- GSM
- Measurements
- Stitching
- Seams
- Trims
- Zippers
- Buttons
- Printing
- Embroidery
- Color
- Care labels
- Size labels
- Packaging
Footwear inspection
Consider checking:
- Size
- Pair matching
- Upper material
- Sole bonding
- Stitching
- Adhesive
- Color
- Logo
- Finishing
- Packaging
Bags and accessories
Consider checking:
- Zippers
- Buckles
- Straps
- Stitching
- Dimensions
- Material
- Hardware
- Logo
- Function
- Packaging
Tech Inspections’ Bags & Accessories Inspection coverage also includes product-specific testing and quality checks.
Motorcycle accessories
Consider checking:
- Material
- Functionality
- Durability
- Safety features
- Color
- Packaging
- Product labeling
- Accessories and components
The key principle is simple: inspect the ways the product can actually fail.
23. Make Sure the Sample Represents the Shipment
An inspection sample should be selected according to the agreed inspection plan.
Avoid relying only on:
- The easiest cartons to access
- The best-looking products
- Products selected by the supplier
- One production area
- One color or size
Where relevant, consider differences between:
- SKUs
- Colors
- Sizes
- Production batches
- Cartons
- Production areas
Representative sampling is important because the purpose of inspection is to understand the quality of the shipment—not simply the quality of a few selected pieces.
24. Review the Inspection Report
A useful report should provide enough information for the buyer to make a decision.
Review:
- Inspection date
- Factory
- Product
- Purchase order
- Quantity
- Sample size
- Inspection criteria
- Defect count
- Defect classification
- Photographs
- Measurements
- Functional test results
- Packaging findings
- Inspector comments
- Corrective actions
- Final result
Do not focus only on whether the report says PASS or FAIL.
Look at the evidence behind the result.
25. Decide Whether to Release, Correct or Reinspect
The final purpose of a pre-shipment inspection is to support a shipment decision.
PASS
The inspected lot meets the agreed acceptance criteria.
Typical action: Proceed with the buyer’s shipment-release process.
FAIL
The inspection identifies unacceptable defects or non-conformities.
Typical action: Hold shipment and request corrective action.
REVIEW
The findings require additional buyer or technical review.
Typical action: Examine the evidence and decide whether correction, testing or another inspection is necessary.
If the supplier performs rework after a failed inspection, a follow-up inspection may be appropriate before shipment.
What Documents Should You Give the Inspector?
A well-prepared inspection brief makes the inspection more useful.
Before the inspector visits the factory, provide:
- Purchase order
- Product specification
- Approved sample or golden sample
- Size chart
- Artwork
- Packaging specification
- Packing list
- Required test reports
- AQL requirements
- Defect definitions
- Product photographs
- Special buyer instructions
A useful inspection brief should remove uncertainty.
For example, instead of saying:
“Check the packaging.”
Specify:
“Each unit must be packed in an individual polybag with the approved warning label. Ten units per inner carton and 50 units per master carton.”
The second instruction gives the inspector something measurable to verify.
When Should a Pre-Shipment Inspection Be Performed?
Timing matters.
An inspection performed too early may not represent the final shipment.
An inspection performed too late may leave the supplier with little time to correct defects.
Tech Inspections currently describes its PSI as taking place when approximately 80% to 100% of the goods are manufactured and packed for export.
The exact timing should depend on the product, production schedule and buyer’s inspection plan.
For higher-risk products or new suppliers, buyers may also use inspections earlier in production.
Is Pre-Shipment Inspection Enough?
Not always.
PSI is an important final quality checkpoint, but it is not a complete quality-management system.
Depending on the supplier and product risk, buyers may combine:
- Pre-production inspection
- During-production inspection
- Product inspection
- Pre-shipment inspection
- Supplier audit
- Factory audit
- Laboratory testing
- Container loading supervision
For example, a new supplier may first need a Supplier Qualification Audit to verify production capability, facilities, processes and other supplier information.
A buyer with an established supplier may then use During Production Inspection to identify recurring problems while manufacturing is still underway, followed by PSI before shipment.
The right inspection plan depends on risk.
Pre-Shipment Inspection vs During Production Inspection
These two inspections serve different purposes.
| Feature | During Production Inspection | Pre-Shipment Inspection |
|---|---|---|
| Timing | During manufacturing | Near the end of production |
| Main goal | Find problems early | Verify shipment readiness |
| Corrective action | More time available | Less time available |
| Product status | Partially produced | Mostly/fully produced |
| Best use | Monitor production quality | Final shipment decision |
| Typical focus | Production consistency | Finished-goods conformity |
For complex or high-value orders, using both can provide better control than relying on a final inspection alone.
What Happens If a Shipment Fails Inspection?
A failed inspection does not automatically mean the supplier relationship has failed.
First, understand why the shipment failed.
Possible causes include:
- Excessive major defects
- Excessive minor defects
- Critical safety concerns
- Wrong product
- Incorrect quantity
- Incorrect labeling
- Packaging failures
- Functional problems
- Incorrect measurements
- Unauthorized changes
Then agree on corrective action.
The supplier may need to:
- Rework defective products
- Replace defective units
- Correct packaging
- Correct labels
- Complete missing production
- Investigate the root cause
- Submit evidence of correction
- Arrange a reinspection
Do not release a shipment simply because the supplier promises that the problems will be corrected later.
The corrective action should be verified according to the buyer’s quality requirements.
7 Red Flags That Should Make You Hold a Shipment
1. Production Is Not Complete
If a significant amount of the order remains unfinished, the inspected sample may not represent the final shipment.
2. The Specification Has Changed
A production change should be approved rather than silently accepted.
3. Defects Exceed the Agreed Criteria
Do not change the acceptance criteria after seeing the results simply to make the shipment pass.
4. Quantity Does Not Match the Purchase Order
Product quality does not compensate for an incorrect shipment quantity.
5. Packaging Is Inadequate
Poor packaging can turn acceptable products into damaged products during transportation.
6. Labels or Barcodes Are Incorrect
Incorrect identification can cause problems with receiving, inventory, customs or retail distribution.
7. The Supplier Does Not Want Independent Verification
A supplier’s reluctance to allow reasonable quality verification deserves additional attention, particularly for new or high-risk relationships.
Free Pre-Shipment Inspection Checklist
Before releasing your next shipment, review the following:
- ☐ Purchase order verified
- ☐ Correct SKU/model confirmed
- ☐ Approved sample available
- ☐ Quantity verified
- ☐ SKU/color/size assortment checked
- ☐ Workmanship inspected
- ☐ Dimensions measured
- ☐ Materials and components checked
- ☐ Color verified
- ☐ Function tested where applicable
- ☐ Logo and artwork checked
- ☐ Labels verified
- ☐ Barcodes checked
- ☐ Individual packaging checked
- ☐ Master cartons checked
- ☐ Shipping marks verified
- ☐ Sampling plan confirmed
- ☐ Defects classified
- ☐ Photographic evidence captured
- ☐ Measurement records completed
- ☐ Packing list verified
- ☐ Required documents reviewed
- ☐ Product-specific checks completed
- ☐ Inspection report reviewed
- ☐ Corrective actions documented
- ☐ Shipment release decision recorded
How to Make Your Pre-Shipment Inspection More Effective
A good inspection starts before the inspector arrives.
Give clear specifications
Your inspector cannot verify an unclear requirement.
Provide measurable specifications wherever possible.
Use an approved sample
A physical reference can remove uncertainty around appearance, construction and finishing.
Define defects in advance
Agree on what constitutes critical, major and minor defects before inspection.
Specify the sampling method
Do not leave sample selection and acceptance criteria unclear.
Ask for evidence
Photos, measurements and test results are more useful than a simple pass/fail statement.
Inspect high-risk features first
Focus attention on the product characteristics most likely to cause customer complaints, returns or safety concerns.
Review failed inspections carefully
A failure can reveal a production-system problem, not just a few defective units.
Frequently Asked Questions
What is a pre-shipment inspection checklist?
A pre-shipment inspection checklist is a structured list of quality, quantity, measurement, functionality, labeling, packaging and documentation checks performed before goods are shipped.
What does a pre-shipment inspection check?
A PSI can check product identity, quantity, workmanship, dimensions, materials, color, functionality, labels, packaging, cartons, shipping marks and defects. The exact scope depends on the product and buyer requirements.
When should a pre-shipment inspection be done?
It should normally be performed when enough of the order is completed to make the sample representative while still leaving enough time for corrective action if problems are found.
What is AQL in pre-shipment inspection?
AQL is part of acceptance-sampling methodology used to establish sampling and acceptance criteria. ISO 2859-1:2026 provides an international standard for AQL-indexed lot-by-lot sampling schemes.
Does PSI inspect every product?
Not necessarily. Many inspections use statistical sampling rather than checking every unit. The sample size and acceptance criteria should be defined by the applicable inspection plan.
What happens if a shipment fails inspection?
The buyer can request corrective action such as rework, replacement or correction of packaging and labeling. A follow-up inspection may then be used to verify the corrections before shipment.
Is pre-shipment inspection necessary for every order?
The need depends on product risk, supplier history, order value, customer requirements and the consequences of defects. New suppliers and higher-risk products may justify stronger quality controls.
What documents should an importer provide?
Useful documents include the purchase order, product specifications, approved sample, size chart, artwork, packaging specifications, packing list, testing requirements, sampling criteria and special instructions.
Can garments be inspected before shipment?
Yes. Garment PSI can include measurements, workmanship, fabric appearance, color, labels, trims, printing, embroidery, packaging and other buyer-specific requirements.
Can motorcycle accessories be inspected before shipment?
Yes. Depending on the product, inspection can cover materials, workmanship, functionality, durability-related characteristics, safety features, labeling and packaging.
Why Choose Tech Inspections for Pre-Shipment Inspection?
A final inspection should give buyers useful information—not simply a box marked “pass.”
Tech Inspections provides inspection, audit and testing services designed to help brands, importers and manufacturers evaluate product quality and supplier performance across international supply chains.
Our services include:
- Pre-shipment inspection
- Product inspection
- During-production inspection
- Pre-production inspection
- Supplier qualification audits
- Factory audits
- Laboratory testing
- Container loading supervision
- Defect sorting and production monitoring
Tech Inspections states that its inspection network supports major manufacturing regions across Asia and other international markets, with customized inspection protocols and reporting.
For buyers sourcing textiles, garments, footwear, fabrics, bags, accessories and motorcycle-related products, inspection requirements can be customized around the actual product and purchase specification.
Ready to Check Your Shipment Before It Leaves the Factory?
If your goods are already in production, the next step is to establish exactly what needs to be checked.
Send the inspection team:
- Product type
- Factory location
- Purchase order quantity
- Inspection date
- Product specification
- Required inspection scope
- Any approved sample or reference documents
Tech Inspections can then help determine the appropriate inspection approach for your order.
Request a Pre-Shipment Inspection or contact Tech Inspections to discuss your requirements.
Final Takeaway
A pre-shipment inspection checklist is most useful when it reflects the actual risks of the product and the buyer’s contractual requirements.
Start with the purchase order and approved sample. Verify quantity, workmanship, dimensions, materials, appearance, functionality, labels and packaging. Define the sampling and defect criteria before inspection, record evidence during the inspection and review the complete report before authorizing shipment.
The goal is not simply to obtain a “PASS” result.
The goal is to have enough reliable information to make a confident decision before the goods leave the factory.


